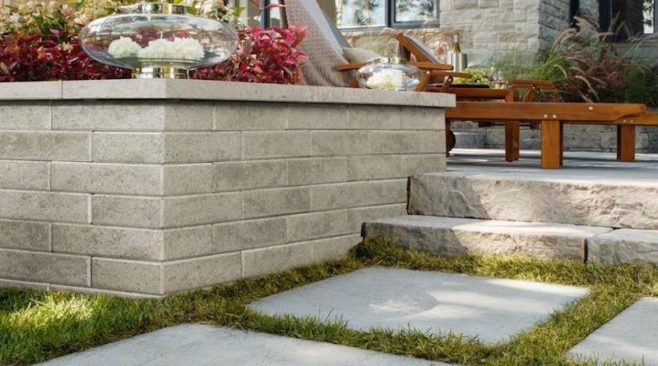
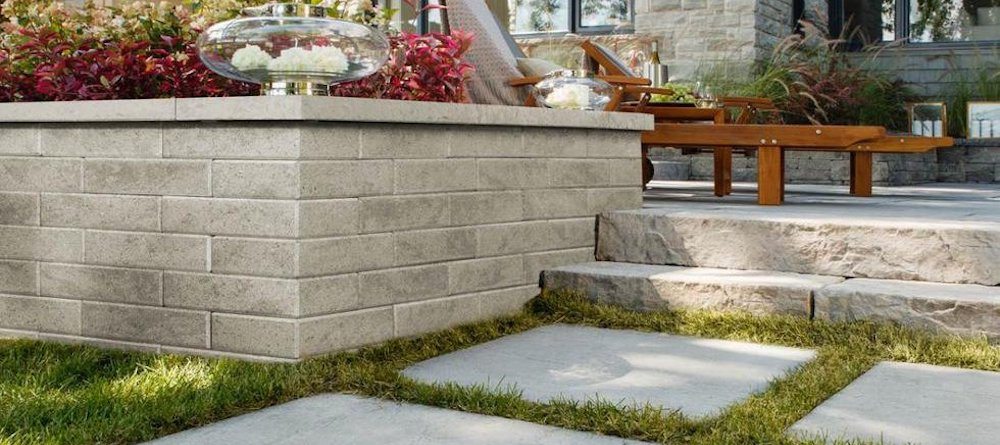
Techo-Bloc retaining walls are all the rage in NJ and its surrounding areas. More than ‘just a wall’, these fabulous retaining wall systems are capable of completely transforming a property and increasing its total value.
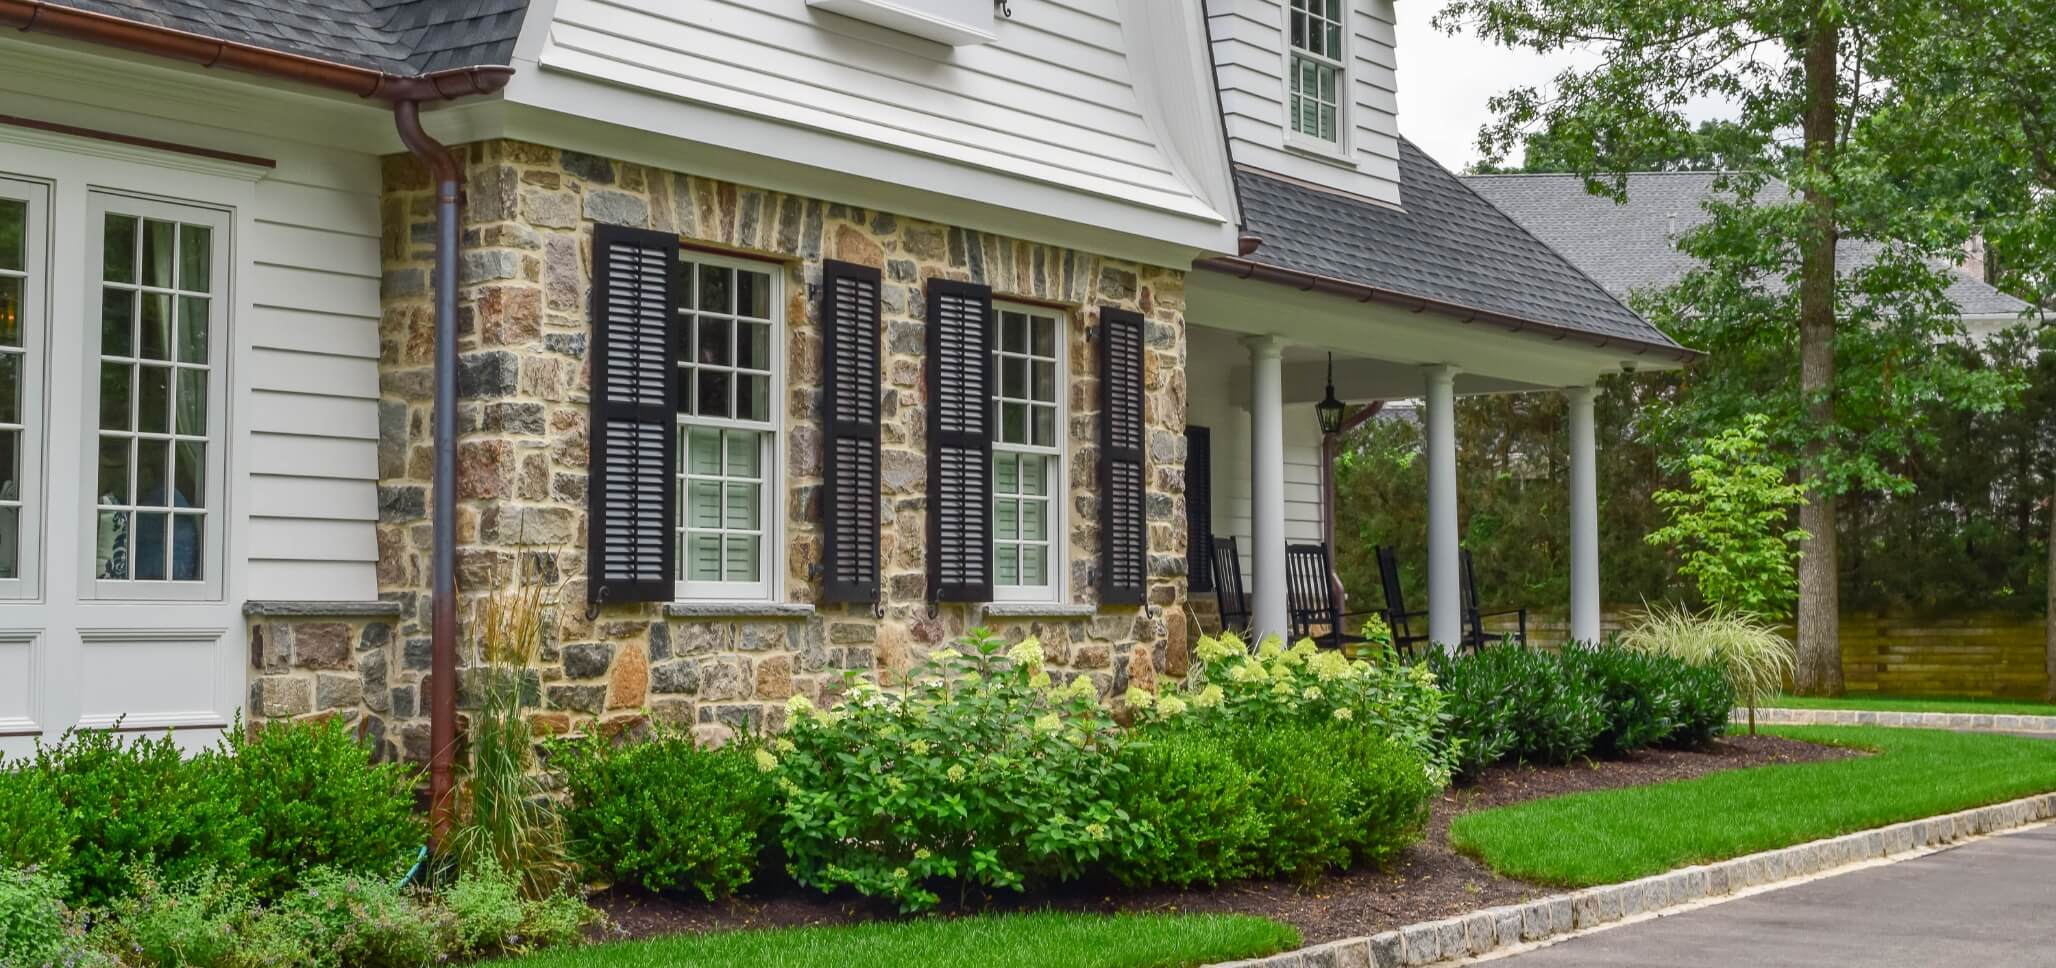
When installed correctly, a Techo-Bloc retaining wall can help to protect the integrity of a home’s landscape, add depth and dimension to a yard, create more usable outdoor living space and create unmatched beauty for the property as a whole.
Of course, in order to realize these benefits you will need to know how to properly install such a wall. This Techo-Bloc installation guide for retaining wall systems will help you to achieve your goal of creating a stunning landscape that will be the envy of your friends and neighbors.
Choosing Your Materials
The first part of our Techo-Bloc installation guide will cover the basics of selecting the right retaining wall materials for you.
NJ homeowners love Techo-Bloc because the brand works hard to produce a wide range of wall blocks which are beautiful and durable enough to create unique retaining walls that will fit a wide range of needs and desires.
When selecting your retaining wall materials, it is important that you carefully consider the type of “vibe” or theme you are striving to create within the scope of your landscape.
Take care to ensure that the style of wall blocks you select will match up with these goals and will work well with any existing landscaping or architectural materials throughout your property. It’s usually a good idea to visit al local Techo-Bloc showroom in order to get an idea about how the materials look in person.
You might also request samples from Techo-Bloc in order to determine which color palette is right for your home. Finally, many Techo-Bloc Authorized Dealers and Contractors can provide access to Techo-Bloc design software tools which will better allow you to visualize the finished project.
To help spark your imagination and get you into the right frame of mind for following this Techo-Bloc installation guide for the design process, we’ve compiled a list of 3 of our favorite Techo-Bloc retaining wall materials:
- Mini Creta – The Techo-Bloc Mini Creta wall block collection is among the most traditional product lines available. These blocks are perfect for homeowners who want to build retaining walls that will add to the warmth and welcoming “vibe” of their properties. Rich texturing, natural earthy shades and an aged finish will get you truly excited about these blocks.
- Raffinato – If you’re into the idea of creating a modern, smooth and sleek design for your retaining wall, look no further than the Raffinato collection. These stunning blocks will give your home an upscale and clean look that you will fall in love with time and again.
- Borealis Wall Blocks – Those who love the idea of natural beauty but who aren’t interested in the look of natural stone should turn their sights to the Borealis wall block collection. Although manufactured from concrete, these blocks look exactly like natural wood, offering a unique yet naturalistic appearance for any home.
Making Preparations
Before you can break ground and move on to the next phase of our Techo-Bloc installation guide, you’ll need to spend a little time making preparations for your project.
In addition to coming up with the perfect design and layout for your retaining wall system, you’ll also need to clear your plans with your local utility provider.
Schedule a visit from a utility professional who can assess your property and your plans. He or she will advise you about any underground pipes or cables that could interfere with your project plans so that you don’t end up with a major headache down the road.
You may also want to take steps to ensure that your new wall will meed local building codes and regulations.
Building Your Wall
Now that you’re ready to start building your wall, we’re able to move on to the meat and potatoes of this Techo-Bloc installation guide. By taking the following steps, you’ll find that installing your wall is fast and simple, allowing you to start reaping the benefits right away.
- Excavation – You’ll need to dig out a trench before you can start installing your wall. The depth of this trench will need to be calculated in accordance with the thick of the leveling pad, as well as the burial depth of your wall. Typically, you’ll need to plan for a minimum thickness of 6” for the leveling pad. Generally, at least 10% of the height of the wall will need to be buried in the ground.
- Clearing the Area – Make sure that you take the time to clear the trench of any large stones, roots, sticks, or other debris that could impair the structural integrity of the wall.
- Adding the Foundation – The base and sides of the trench will need to be covered with a geotextile fabric in order to prevent the growth of weeds. Once in place, a crushed stone aggregate (3/4”) should be spread in the trench as a foundation and compacted for a completely level surface.
- Building the First Course – Blocks of the same height should be used to build the first course on top of your leveling pad (foundation). Be sure to follow any predetermined layout plans for the proper placement of wall blocks. Make sure that the blocks are level and in alignment in all directions.
- Adding a Drain – Once the first course has been laid, this Techo-Bloc installation guide recommends that you lay down a 4” diameter perforated drain that will connect into your existing drainage system.
- Backfilling – Backfilling should occur at the rear of the wall with 3/4” crushed clean stone. Any cavities in the blocks should be filled with clean stone.
- Adding Subsequent Courses – Blocks should be cleaned before laying the next course. Connectors should be installed on the extremities of individual blocks. Backfilling should occur every 8” Take care to ensure that all subsequent courses are situated in such a way that the vertical seams align with those below.
- Finishing – Caps or coping stones should be applied where applicable, or else the final course of blocks should be installed to complete the wall. This course of stone will need to be fixed to the blocks below with a concrete adhesive.
If there’s any question about your ability to follow this Techo-Bloc retaining wall installation guide on your own, we suggest that you seek out the help of a professional, Techo-Bloc authorized contractor.
Building a Techo-Bloc Retaining Wall in NJ
We hope that this Techo-Bloc installation guide has proven to be helpful with your plans to construct a Techo-Bloc retaining wall. Once you’re ready to get started, the professionals at Braen Supply are ready to help.
Visit our local showroom to get a better sense for all of the Techo-Bloc materials we have. While you’re here, speak to our experts in order to obtain tips and advice on the wall construction process.
We can also provide recommendations on local Techo-Bloc contractors who can help you properly install your wall. Our materials are always available at competitive prices and can be picked up or bulk delivered to job sites throughout parts of NJ & NY and limited parts of PA & CT.